
Quickstart
Create an account and a workspace, write your first entry, and publish it.
This guide takes about five minutes. At the end, you have a workspace with a published entry that the API, a site, or an AI app can read.
Create an account
Go to andesine.app and select Sign up. Continue with Google, GitHub, or your email address. With email, Andesine sends you a one-time code; there is no password.
Create a workspace
Type a Workspace name and select Continue. The workspace is where your team, content, and settings live. A new workspace starts on the Free plan.
Look at the example content
The Getting started collection in the explorer has example entries. They show schemas, components, links, and publishing. Read them, change them, or delete the collection when you are done.
Create a collection and an entry
In the explorer, select New collection and name it, for example
Guides. Then select New entry (⌘E) and type a title.Write
Type in the editor. Type
/to add headings, lists, tables, code blocks, images, and components. Markdown shortcuts such as##and-also work. Andesine saves your changes automatically.Publish
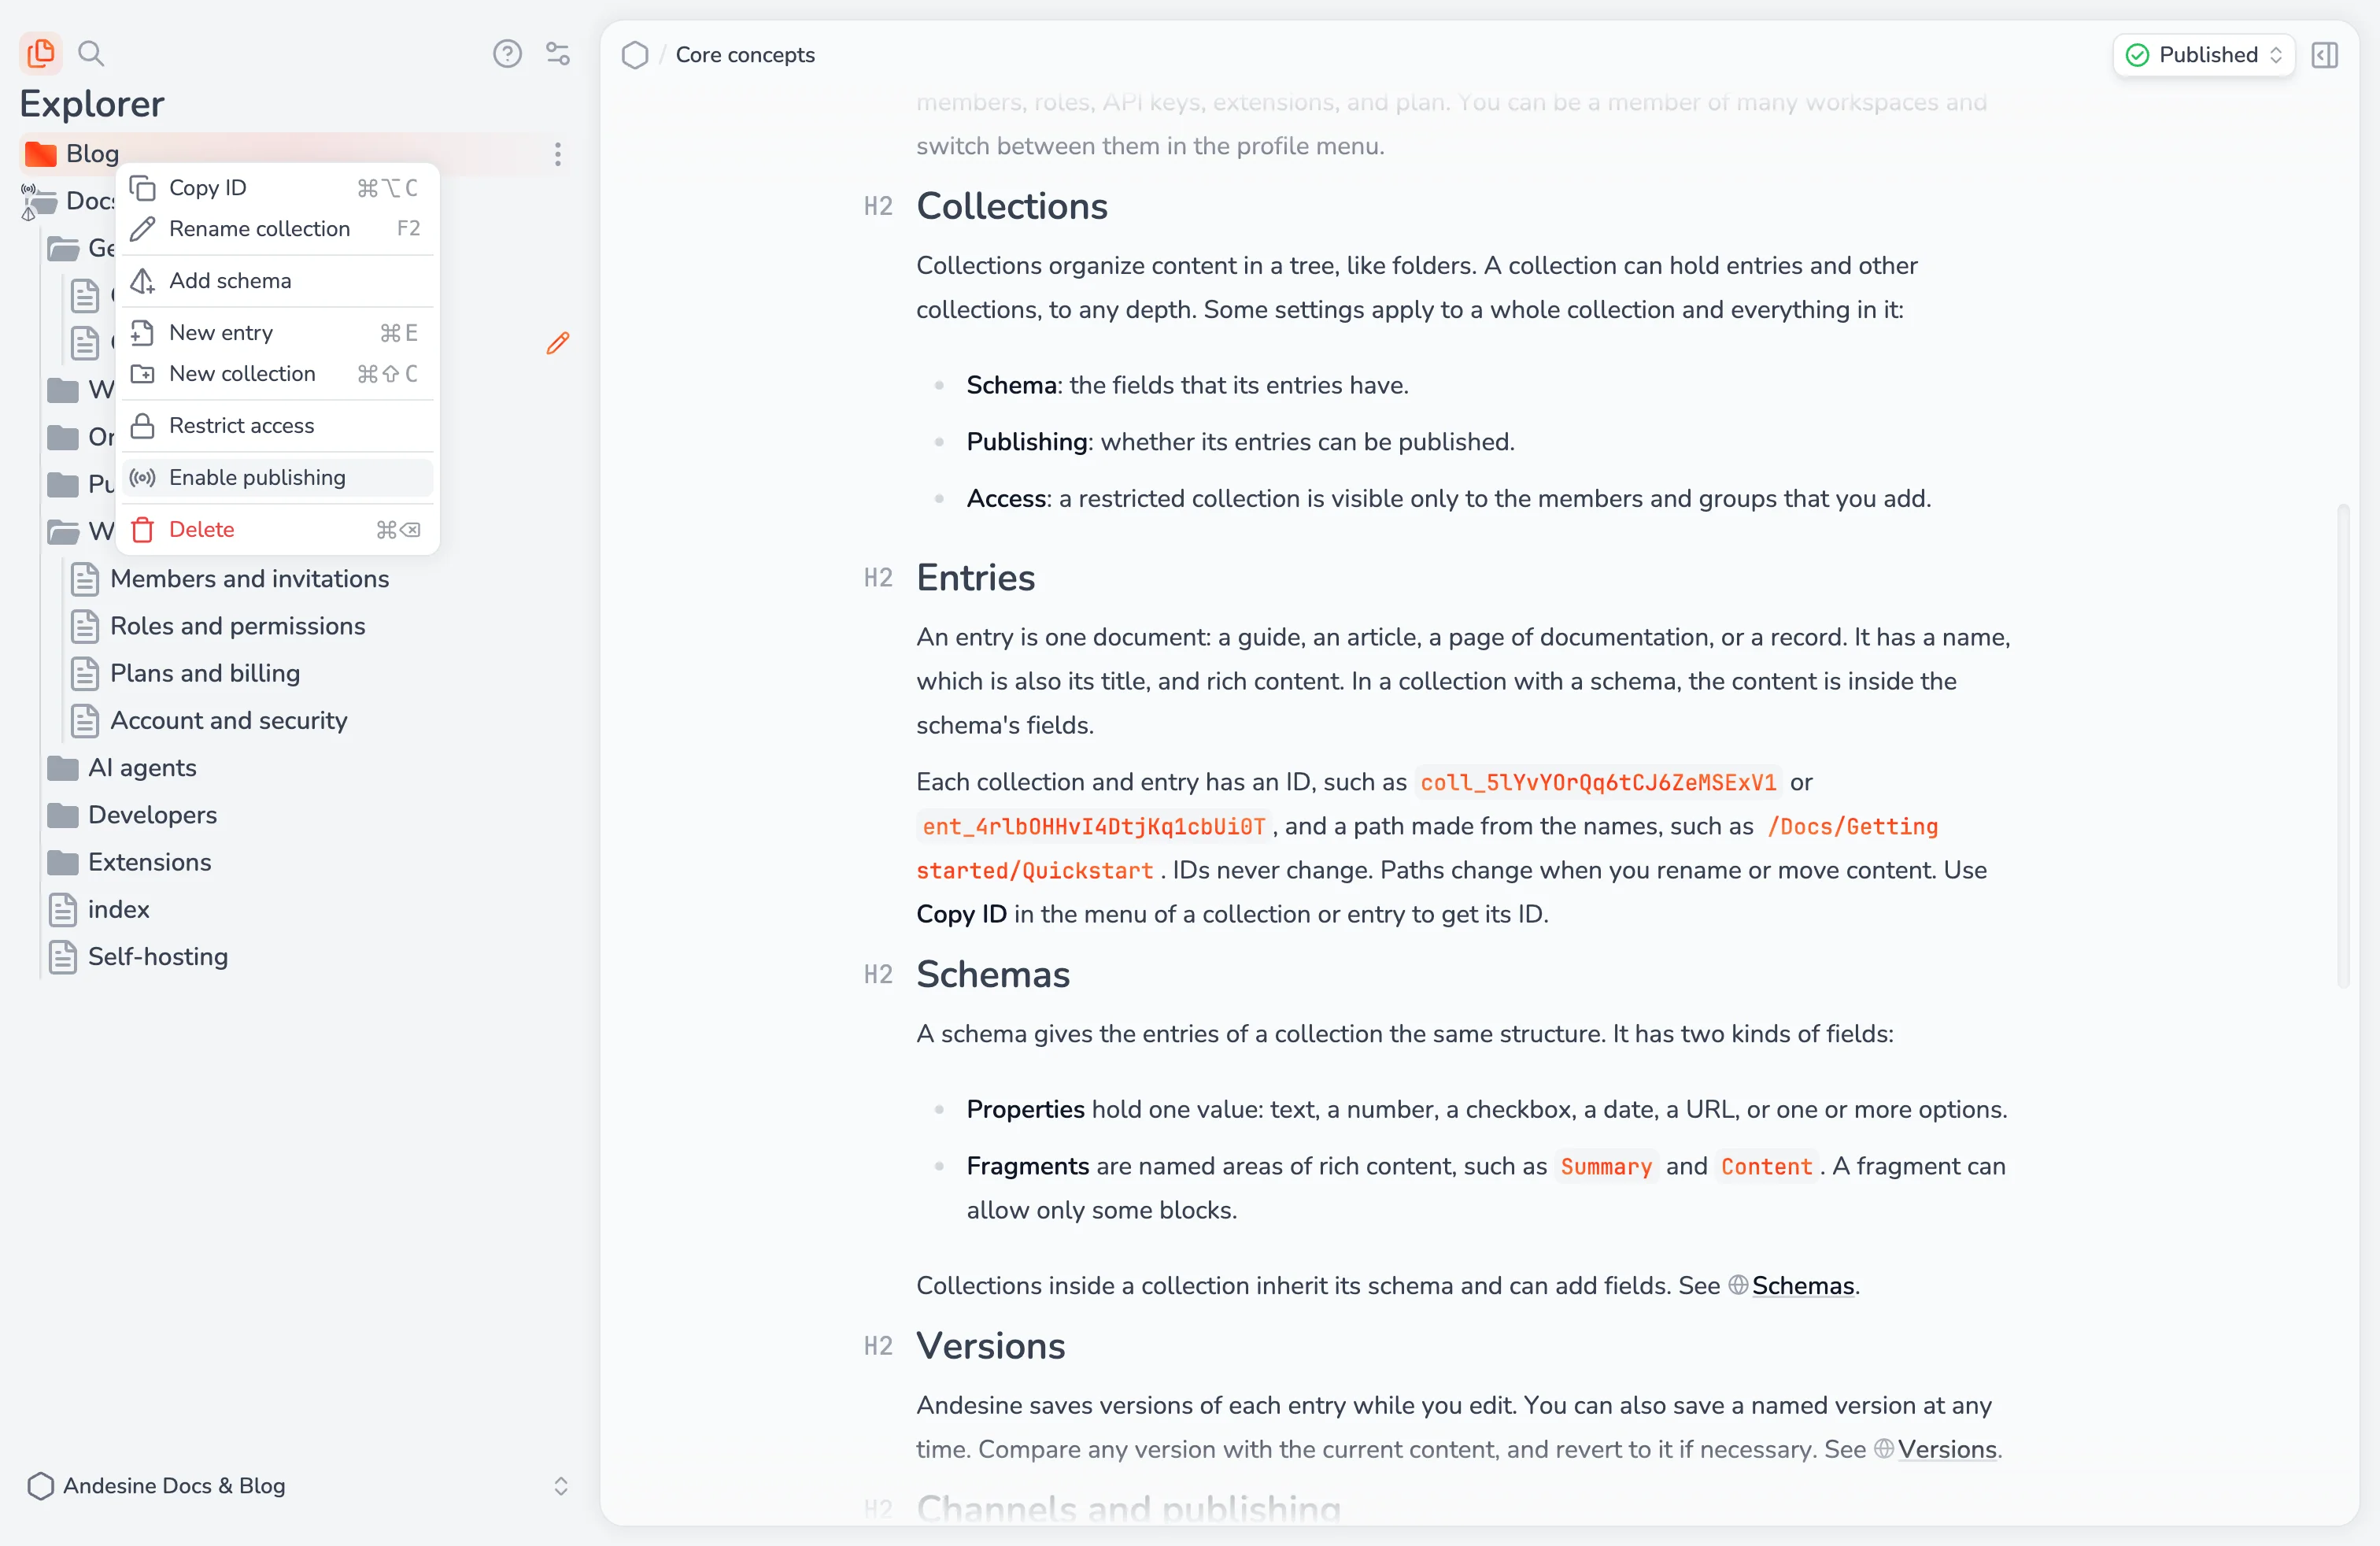
Open the menu of the collection and select Enable publishing. Then open the menu of the entry and select Publish current. The entry's current version is now on the Published channel.
What happens when you publish
Your edits change the current version of an entry. Publishing assigns a version to a channel, and readers of that channel see only that version. Later edits stay in the current version until you publish again. The Publishing panel on the right lists all pending changes, so you can review and publish them together.
Next steps
Read published content with the API and SDK.
Host a documentation site for a collection with Hosted sites.
Connect an AI app to write and search with AI.
Learn the core concepts.